S-URL - How to update your self-signed certificate
When you are using S-URL, you have a Connected App that uses a Self-Signed Certificate. These certificates expire. This page tells you how to update your certificate.
For initial S-URL Setup, see S-URL and Public Share Setup (S-Drive 2.7.12 and later)
To update your certificate, you’ll need to do the following steps, which are detailed below.
Create a new self-signed certificate

Go to Setup > Security > Certificate and Key Management.
Click on Create Self-Signed Certificate.
Give it a label and the unique name. If you delete the expired certificate first, you can use the same name you used before. Otherwise give it a new name.
Make sure the Exportable Private Key is checked.

Click Save.
Click on the certificate you just created.
Click Download Certificate

Update the Custom Setting with the certificate name if needed
If you gave your certificate a new name, you need to update the custom setting where it’s stored. If you deleted the old certificate and are using the same name, skip this step.
Go to Setup-->Custom Settings
Find SDriveConfig and click Manage next to it
Click Edit next to SUrl_Community_Certificate
Enter the new name of your certificate
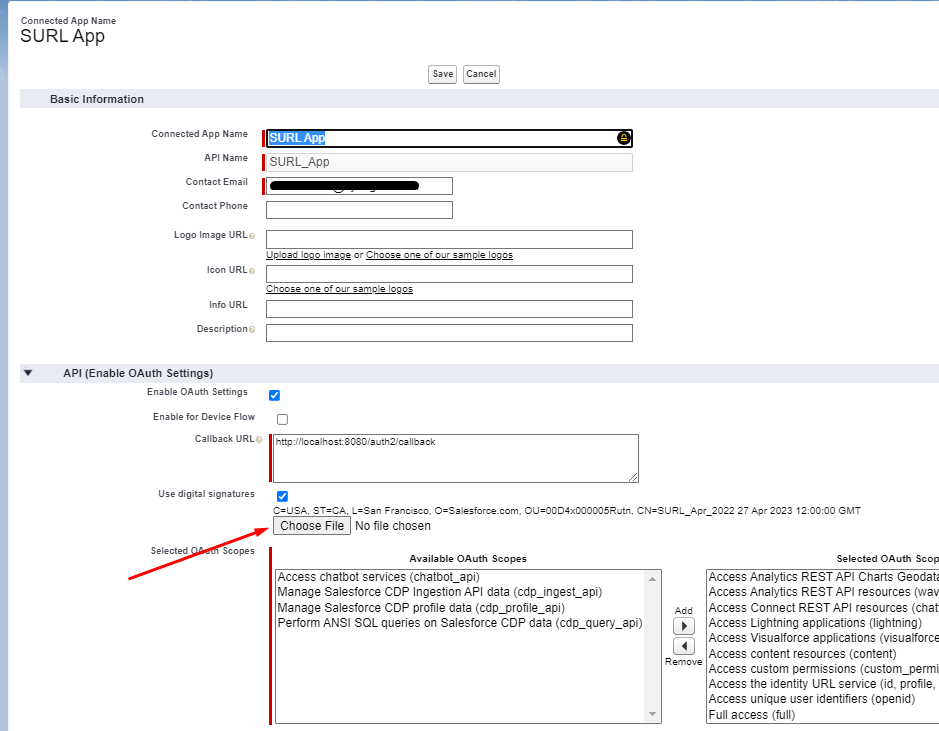
Upload the new certificate to your Connected App
Go to Setup-->App Manager
Find your SURL connected app. It probably has SURL in the name and the App Type is Connected
Click the down arrow next to it and click Edit

Click Choose a File

Upload the certificate you downloaded in the first step
You’ll get a message saying it can take up to 10 minutes. Click Continue
Your certificate is now updated.
