
Create a Google Cloud Platform Account
To set up a Google Cloud account, go to https://cloud.google.com/ and create an account.
Note: It’s very important to keep track of the login credentials for this account and to make sure they are not lost if the person who created them leaves the organization. They will be needed at times in the future when it may be necessary to update or change your bucket.
You will create a bucket later on when you configure S-Drive. There is no need to create a bucket directly in GCS and we recommend against it.
Set up a Service Account and create Private Key and Client Email
-
Go to the Console
Go to https://console.cloud.google.com/ and log in with your Google account or after logging in with the step above, click Console on the upper right -
Go to Service Accounts
In the left sidebar, navigate to:
IAM & Admin>Service Accounts -
Create a New Service Account
-
Click "Create Service Account"
-
Give your service account a name (e.g.
my-app-service-account) and optionally add a description. -
Click Create and Continue
-
-
Grant Permissions (Roles)
-
Choose a role for the service account, such as Editor, or a more specific role depending on your use case.
-
Click Continue and then Done
-
-
Generate a Key
-
On the Service Accounts page, find the account you just created.
-
Click the three dots on the right side and select "Manage keys"
-
Then click "Add key" > "Create new key"
-
Select JSON and click "Create"
-
-
Download the Key File
-
A
.jsonfile will be downloaded automatically. -
This file contains the
client_emailandprivate_keyinside.
Store the client email and private key somewhere safe. You’ll need it to set up S-Drive.
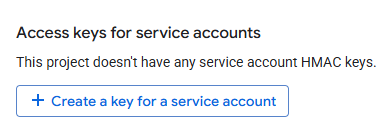
Create Access Keys
Your Access Keys will be used to access your Google Cloud bucket from S-Drive.
From Cloud Storage > Settings > Interoperability, create an Access Key and Secret for your user account
Save your Access Key and Secret Key somewhere secure. You will need these and cannot get them from GCS. You must create new ones if you lose these.
Note: Your access key may be exposed when sharing a link to files or uploading files. The Access Key is akin to a username, while the Secret Key is like a password, so exposing the Access Key is not considered a security risk. It is how GCS works with pre-signed URLs.
You can continue through the next steps, or you can go to S-Drive Configuration in your Salesforce org and do the remaining setup there, which we recommend. If you do that, you can skip the rest of the steps here.
Bucket Setup
We recommend creating a bucket and completing the remaining steps from within S-Drive. See Installing and Activating S-Drive This will ensure the settings on the bucket are correct. If you choose to do that, you can skip this section.
However, if you’d like to create a bucket directly in GCS, here are the steps:
-
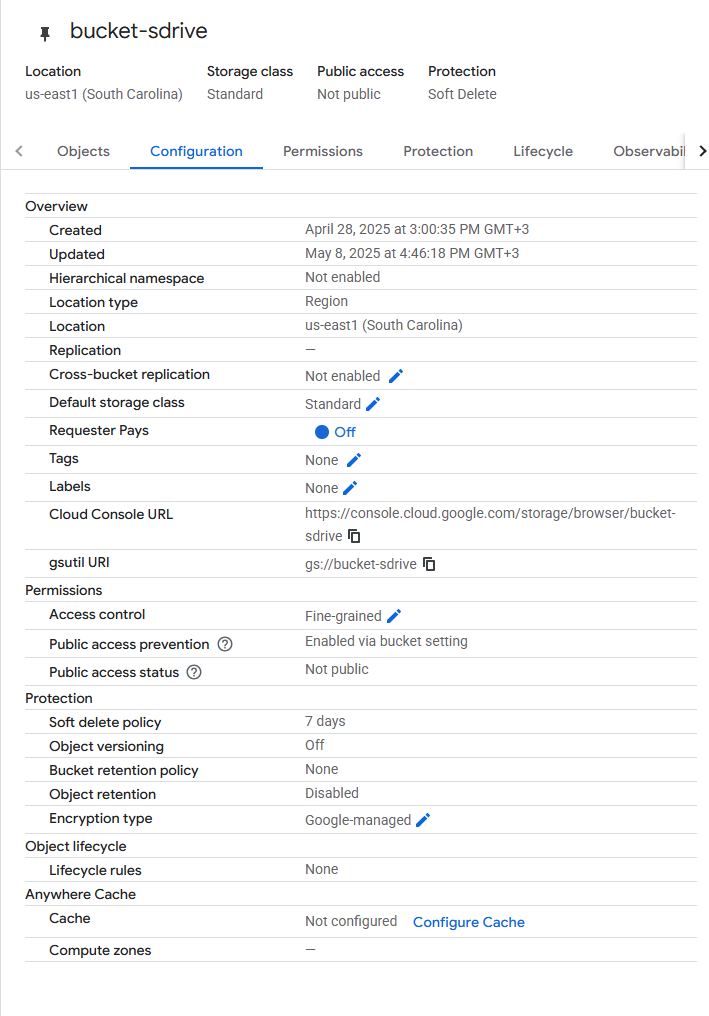
Create a Google Cloud Bucket with the following configurations:
-
Location -> choose your location
-
Storage class -> Standard
-
Public access -> Not public
-
Protection -> Soft delete
-
Access control → Fine-grained or Uniform
NOTE: If choosing Uniform, an additional step is needed as follows:
In Salesforce, go to Setup->Custom Settings
Create a new custom setting with Name =BucketControlledAcland Value=true
Bucket Configuration
-
-
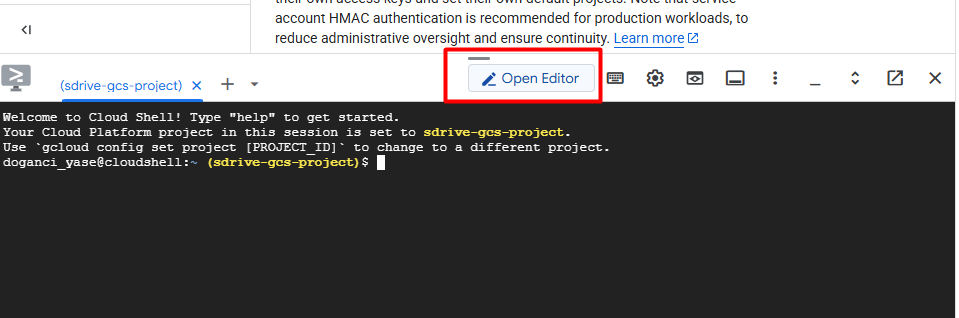
Set Bucket CORS policy using Cloud Shell
-
Open (Activate) Cloud Shell

-
Click on “Open Editor”
-
Create the cors_config.json file (origin can be set individually with the Salesforce org domain)
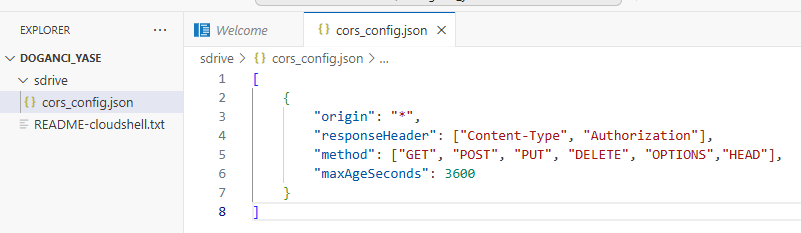
[ { "origin": "*", "responseHeader": ["Content-Type", "Authorization"], "method": ["GET", "POST", "PUT", "DELETE", "OPTIONS","HEAD"], "maxAgeSeconds": 3600 } ] -
Set the bucket CORS policy using the terminal with the following command
gcloud storage buckets update gs://bucket-sdrive --cors-file=cors_config.json -
You can view the CORS config using the following command
gcloud storage buckets describe gs://bucket-sdrive --format="default(cors_config)"
-
-
Add IAM or Bucket Level Permission
-
Go to Cloud Storage > Buckets > Permissions tab and add “Storage Admin” permission to the correct principal
-
Setting up Remote Site Settings and Trusted URLs
Note: this can be done from S-Drive if setting up your bucket with S-Drive Configuration.
-
Navigate to your Salesforce org, and go to Setup > Remote Site Settings and add New Remote Site Settings
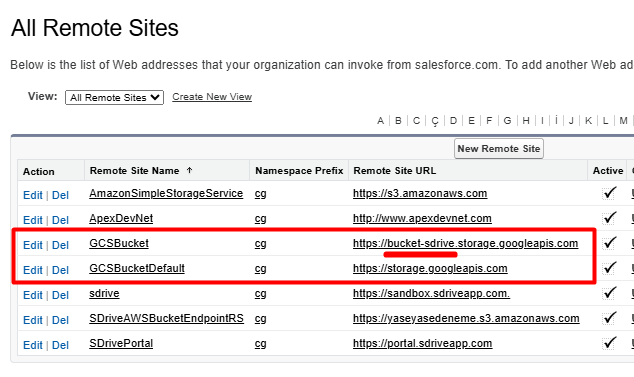
https://[BUCKET-NAME].storage.googleapis.com
https://storage.googleapis.com
Ensure that the 'bucket-sdrive' segment is replaced with the name of your specific bucket.
-
Navigate to your Salesforce org, and go to Setup > Trusted URLs and add New Trusted URLs
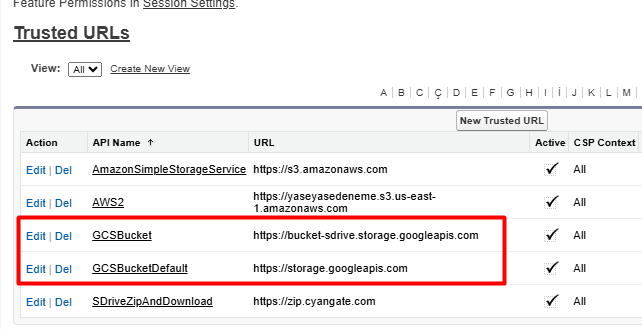
https://[BUCKET-NAME].storage.googleapis.com
https://storage.googleapis.com
Ensure that the 'bucket-sdrive' segment is replaced with the name of your specific bucket.