
Custom File Object Creation (using Spreadsheet)
Instead of creating a custom object from scratch, and creating each custom field one-by-one, you can use a spreadsheet to create custom objects. This can be used for creating custom file objects for S-Drive.
After creating a custom file object, you will need to give profile permissions (CRUD) and field accessibility. Be sure to allow read/write access to all fields in order to use all S-Drive features.
To create your custom file object:
Login to your Salesforce account, and navigate to Setup.
From Setup, select “Object Manager” and see the top right icon for “Create”, and select “Custom Object from Spreadsheet” option.

The option will open a new tab in your browser, and ask for your credentials (even though you are logged in to your Salesforce organization). Choose either “Log in with Salesforce” or “Log in with Sandbox” as appropriate.
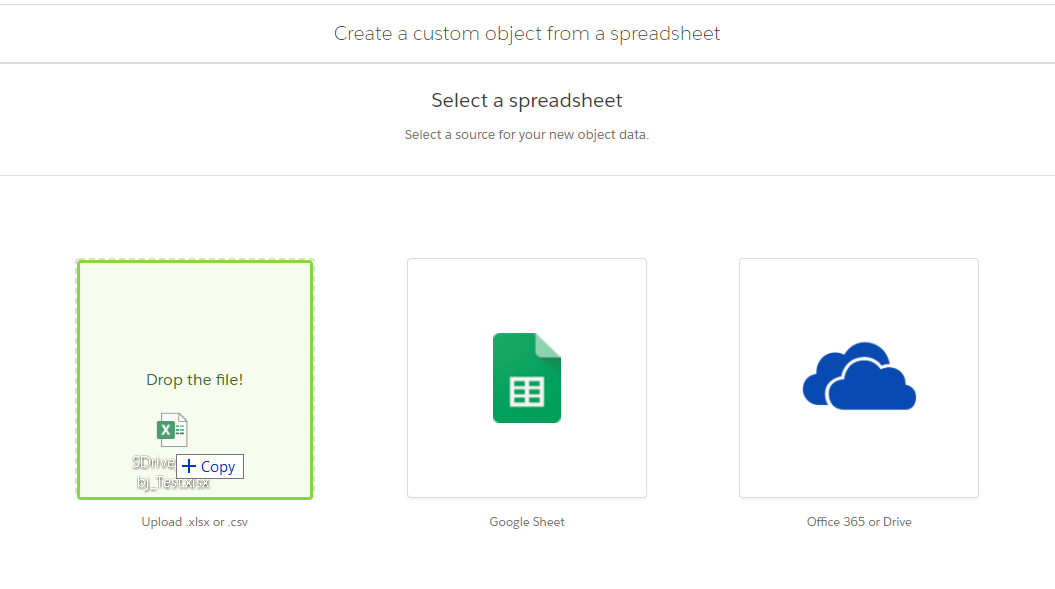
Create a spreadsheet to include all the custom field names.
Before uploading the .xlsx or .csv file, consider the name of your file. The file name will be used for naming your Custom Object. (You can change the name and label of the object in the following steps in the Object Creator wizard, or after creating the object as well.)
Ex: SDrive_FileObj_Test.xlsx will create a custom object named as SDrive FileObj Test. We suggest a naming convention that includes the object name followed by “_File”, such as MyObject_File or Account_Custom_File.
❗ When creating a custom file object, do not give it the same API name as the objects in the S-Drive Managed package (AccountFile, ContactFile, CaseFile, OpportunityFile, Lead_File). This will cause errors until the API name is changed.
You may want to use the spreadsheet template attached to the bottom of this page, which is already prepared with 5 data rows. Here is a screenshot from the template we provide: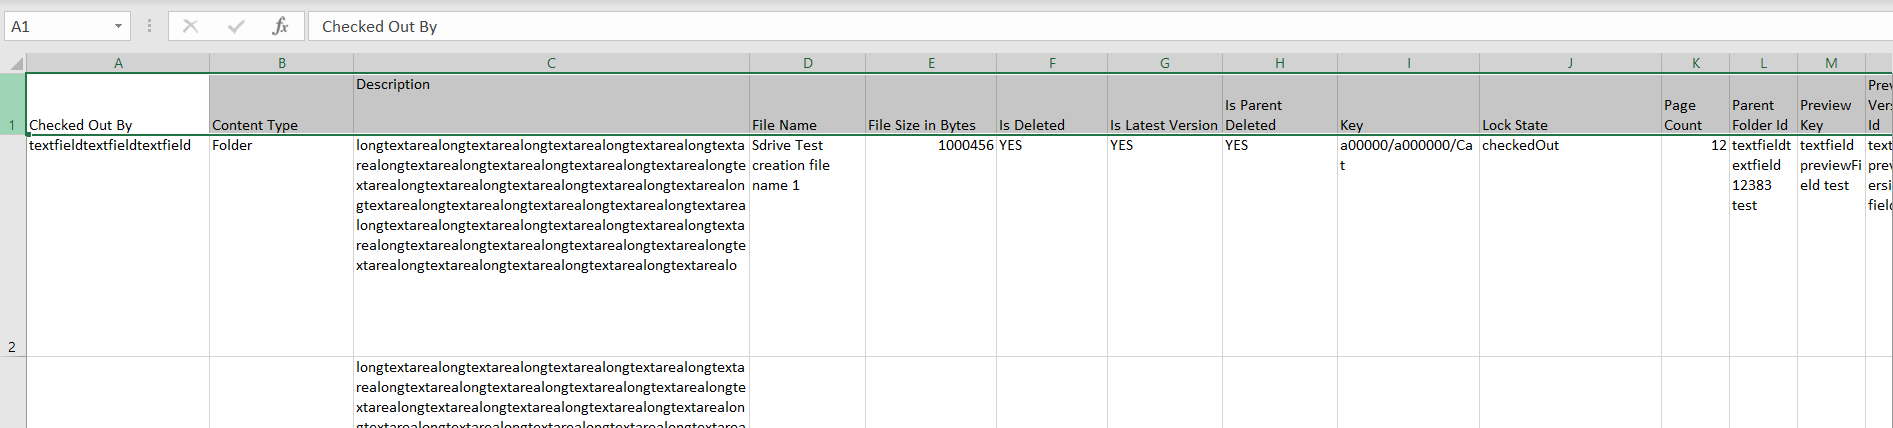
In the screenshot, you can see that the field names are provided in the first row.
ℹ️ You can also provide 4-5 rows of data for object creator to understand the field type from the spreadsheet. For example, for Checkbox fields, provide data as “YES” and “NO”, for Number fields, provide numbers, and for Long Text Area fields, populate it with more than 255 characters. The Formula fields (File Size) and the Lookup/Master-Detail relationships are not present in the template and must be created after the object creation as a manual step. (See Step 15)
Upload the spreadsheet
You can configure the worksheet details as you like, but the recommendation is to use the following options:

The Object Creator will initialize the list of fields from the uploaded spreadsheet as follows:
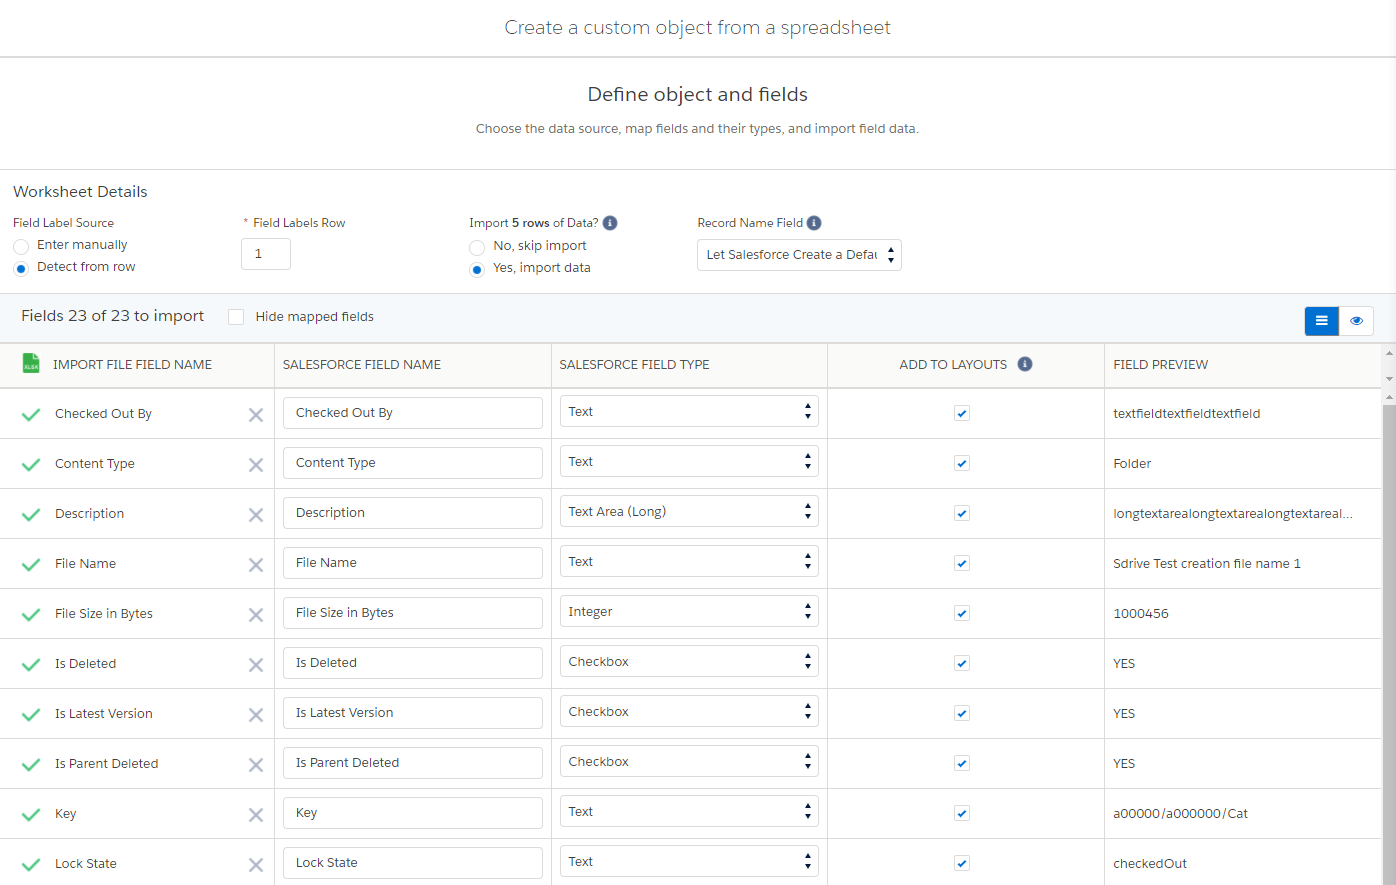
You need to check and fix the Salesforce Field Type column values if there are any mismatches. You can cg__AccountFile__c object to compare the field names and the types.
For example, Lock State is a multi-select picklist, but may have been created as Text, so change that field to a multi-select Picklist. Values are: legalHold, checkedOut, and onlineEditing.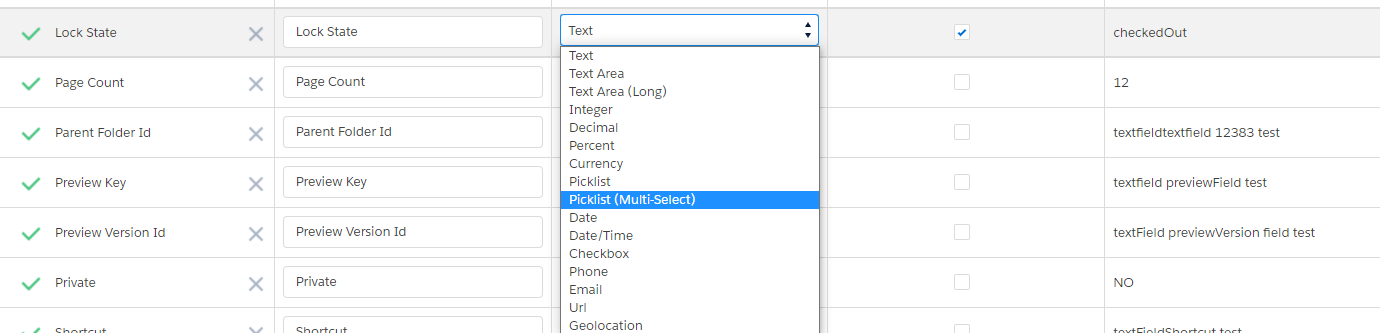
You can check the “Add to Layouts” boxes for each field to include them in the “All” list view. You can select up to 10 fields.
After you have checked all the field types and names, click on “Next”.
The last page in the wizard is the “Object properties” section. Change the object label or name as you like in this page. You can also set the “Advanced Settings” here such as “Allow Search” or “Allow Reports”. “Allow Search” is needed for proper shortcut creation/deletion if you want to use the Shortcut feature.
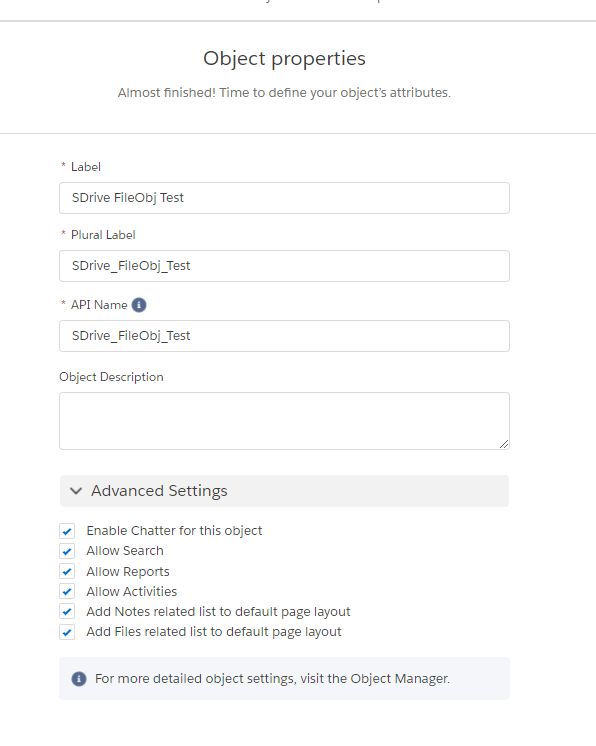
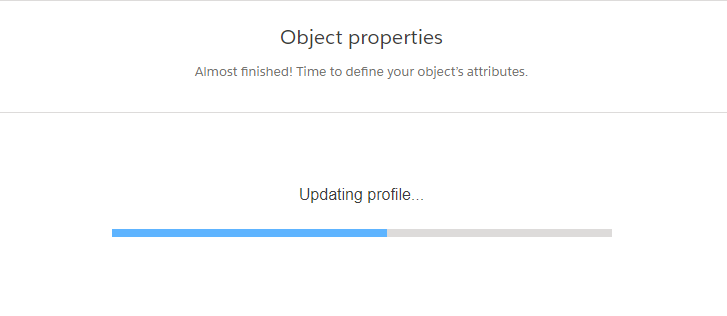
After setting the Object properties, click on “Finish” button, and check the status of the object creation process.
After your object is created, you will see the Overview page. (You will also receive an e-mail about the import job.)
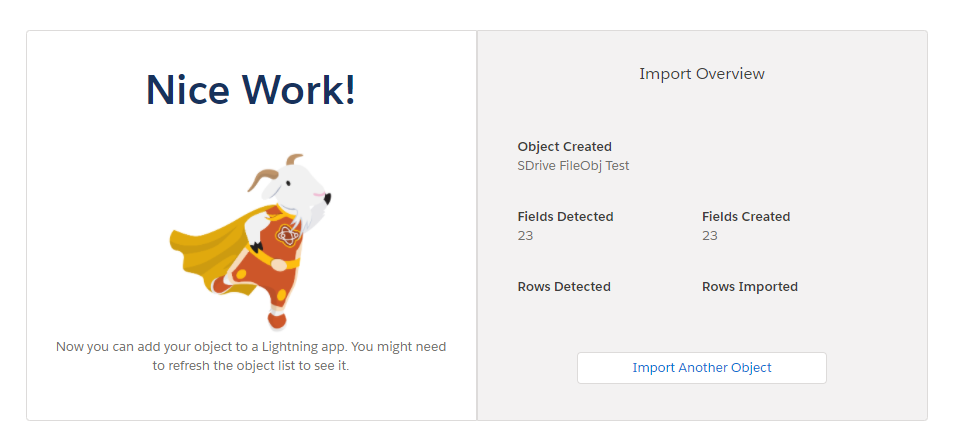
You can navigate back to Salesforce Setup and refresh the Object Manager page to see your newly created custom object.
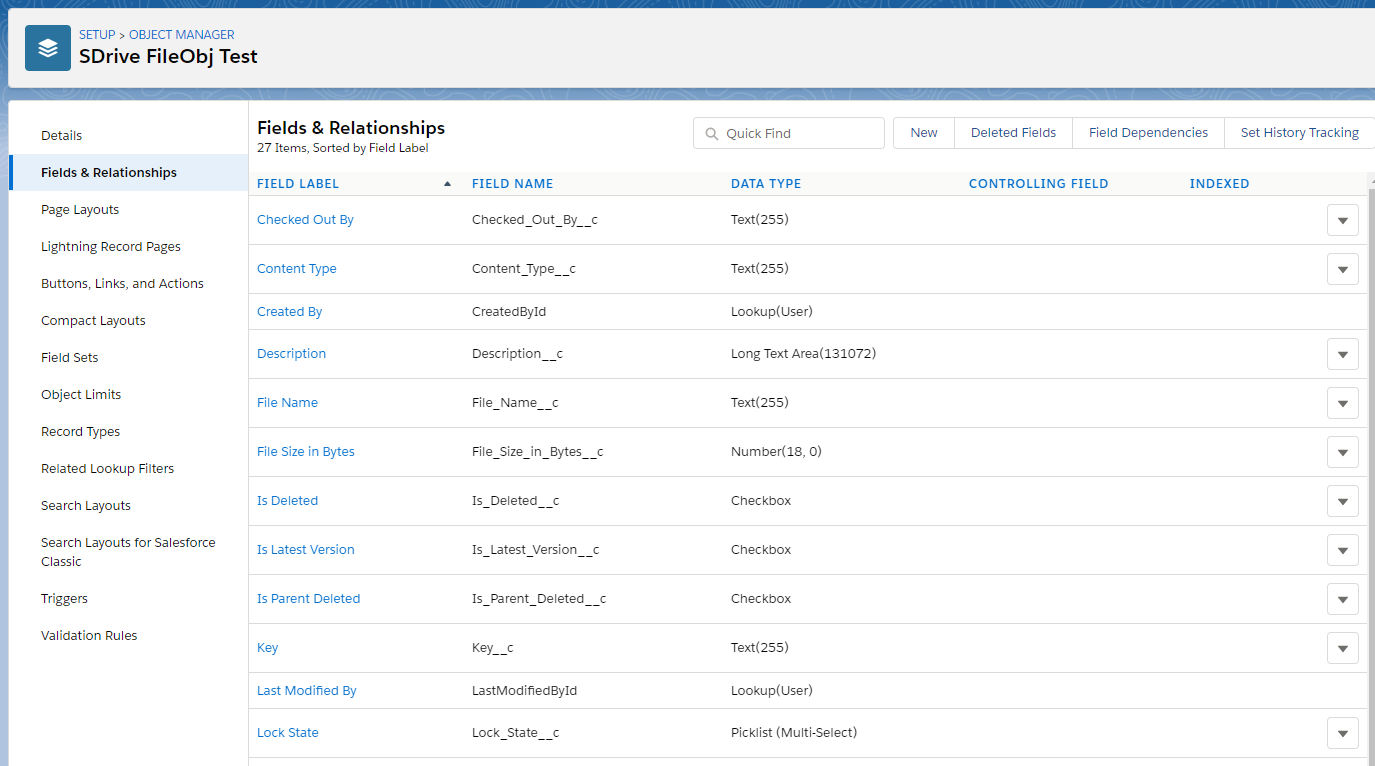
You need to create the File Size (formula) field and the Parent (Lookup) field:
Parent:
Data type: Master-Detail (or Lookup)
lookup to the object you want to upload files to
Name: Parent (make sure this field is named parent. It will default to the name of the lookup object.)
File Size:
Data type: Formula
Return data type: Text
Formula:
CODEIF(!(ISBLANK(Shortcut__c )), RIGHT(Shortcut__c, (LEN(Shortcut__c) - FIND(':', Shortcut__c))), IF(File_Size_in_Bytes__c > 1024, IF(File_Size_in_Bytes__c > 1048576, IF(File_Size_in_Bytes__c > 1073741824, TEXT(ROUND((File_Size_in_Bytes__c /1073741824),2)) & " GB", TEXT(ROUND((File_Size_in_Bytes__c /1048576),2)) & " MB"), TEXT(ROUND((File_Size_in_Bytes__c /1024),2)) & " KB"), TEXT(File_Size_in_Bytes__c) & " bytes"))
Check the Lock_State__c field:
field type must be multi-picklist
picklist values are:
checkedOut
legalHold
onlineEditing
deactivate any other picklist values
Change the default value to True on the following checkbox fields
WIP__c
Is_Latest_Version__c
Check over all fields, their types and character limitations, before using this object with S-Drive
Make sure your new custom file object does not have the same API name as the objects in the S-Drive Managed package (AccountFile, ContactFile, CaseFile, OpportunityFile, Lead_File). This will cause errors until the API name is changed.