An S-Drive Portal Account allows you to connect your Salesforce org in order to begin using S-Drive. The Portal Account is where you can see your billing information and set up a payment method. You can also sign up to get email alerts from S-Drive. Your Salesforce org needs to be connected in the portal in order to use S-Drive.
Logging in or Registering for an account
In order to use S-Drive, you need to create your own S-Drive Portal account. Once you install S-Drive in your Salesforce org, you will login to this portal acount and connect your org. You can connect multiple Salesforce orgs in your portal--both sandboxe and production orgs. In the portal, you will also be able to see your Amazon account, your S-Drive invoices, and payment details.
-
Go https://portal.sdriveapp.com. Register for a free account, or login if you already have an account.

Updating S-Drive Account Information or Password
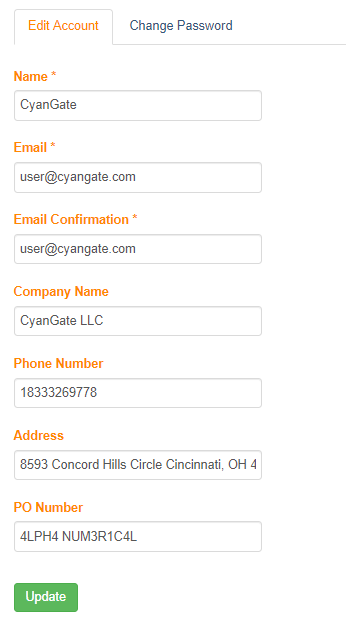
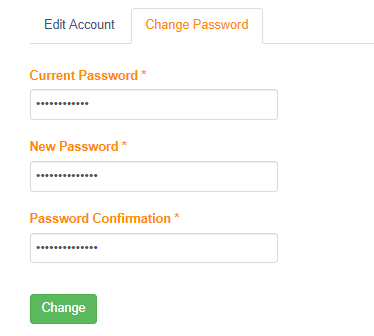
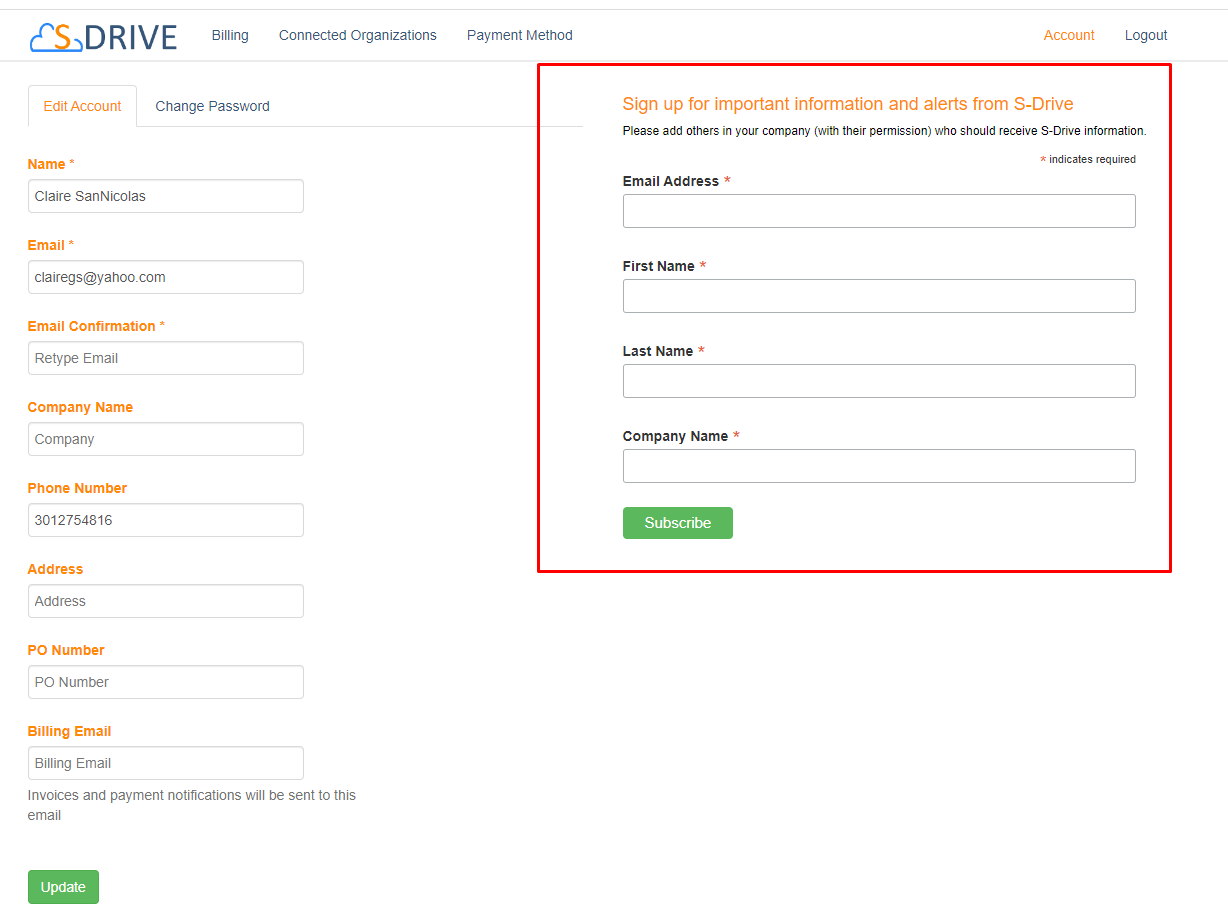
Click Account link on menu to update your account information or change your password
Select the Edit Account tab to change account information or the Change Password tab to change your password.
Sign Up to Receive S-Drive Emails
On the Account page, you can also sign up to receive important emails from S-Drive. This will include service alerts when action may be required on your part, as well as information about new releases.
We also recommend adding others in your company who may need to see this kind of information.
Connected Organizations
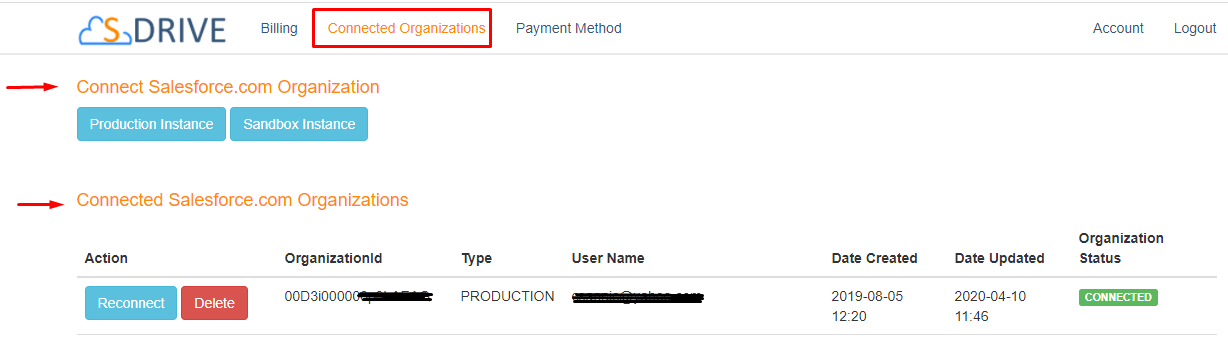
In order to use S-Drive, you must connect your Salesforce organization to S-Drive.
Click Connected Organizations tab on the menu. You see "Connect Salesforce.com Organizations" (where you can connect additional orgs) and "Connected Salesforce.com Organizations" (where you see the orgs you’ve already connected and see their status.)
Connecting the first time
When connecting an Salesforce org in the portal, you’ll be asked for Salesforce login credentials.
The user connecting S-Drive in the portal is typically an Admin User since the Admin installs S-Drive and then connects it in the portal as part of the installation.
However, the Portal Connection User need not have Modify All Data permission. Using a user that doesn’t have Modify All Data permissions increases security.
If you choose to connect in the portal with a non-Admin user, see S-Drive Portal Account | Portal User Requirements below.
Reconnecting after a disconnect
There may be times when your org becomes disconnected. This can happen for a variety of reasons, including lack of payment, or communication being lost between the portal and Salesforce. You may see an error along the lines of “Please reconnect this organization at https//portal.sdriveapp.com”.
To reconnect your org:
-
Find your org in the list of Connected Organizations
-
Click the Connect or Reconnect button next to the org. Your org may show as connected even if you got the error message that you need to reconnect. Simply click Reconnect. This will redirect you to a Salesforce login page. Login to the org you want to connect. You can also use the Reconnect button to change the Portal User. Simply use different user credentials when shown the Salesforce login page.
-
Click 'Allow' button for S-Drive to have permission to connect the app
-
You should now see your organization show as connected
Portal User Requirements
S-Drive IP Address:
If your portal user has IP restrictions, you must list S-Drive’s IP address in their Login IP Ranges: 54.164.117.187
If the Portal User (the user whose credentials you enter when connecting in the portal) is a System Administrator user, you’re all set.
If you want to use a user with less access, the following sections give the necessary requirements.
System Permissions
-
Customize Application
-
API Enabled
-
Send Outbound Messages
-
Must not have the Session Security Level Required at Login (found in the profile under Session Settings) set to High Assurance. It should be set to None.
Assigned Connected App
-
S-Drive Connected App
Apex Classes
-
All S-Drive Apex Classes (all start with “cg.” )
Custom Setting Definitions
-
All S-Drive Custom Setting Definitions (all start with “cg.” )
Object Permissions
In order for S-Drive to stay connected and or all features to work, the object permissions and sharing must be set as follows:
-
AttachmentSync - Modify All Records (part of CRUD settings)
-
File Size Request - Modify All Records
-
Previews - Modify All Records
-
If Sharing settings for Preview is Public Read/Write, the portal user only needs CRUD, not Modify All Records
-
-
Parent Object/S-Drive File Object (ex: Account/Account File) with master-detail relationship
-
The portal user needs to be able to access and edit the file objects. This can be done with various combinations of sharing and permissions
-
|
Parent Sharing |
Parent Permissions |
S-Drive File object Permissions |
|---|---|---|
|
Public Read/Write |
Read/Edit |
Create/Read/Edit |
|
Public Read Only or Private |
Modify All Records |
CRUD |
|
Edit + View All Records |
Modify All Records |
-
Parent Object/S-Drive File Object (custom file object) with lookup relationship
-
The portal user needs to be able to access and edit the file objects. This can be done with various combinations of permissions
-
The Portal User doesn’t need any access or permission on the Parent object
-
For the S-Drive File Object
-
-
|
S-Drive Custom File Object Sharing |
S-Drive File Object permissions |
|---|---|
|
Public Read/Write |
CRUD |
|
Public Read Only or Private |
Modify All Records |
Amazon Payment
Add an Amazon payment method if your S-Drive trial has expired. S-Drive is always free in Sandboxes.
-
Click Payment Method link on menu

-
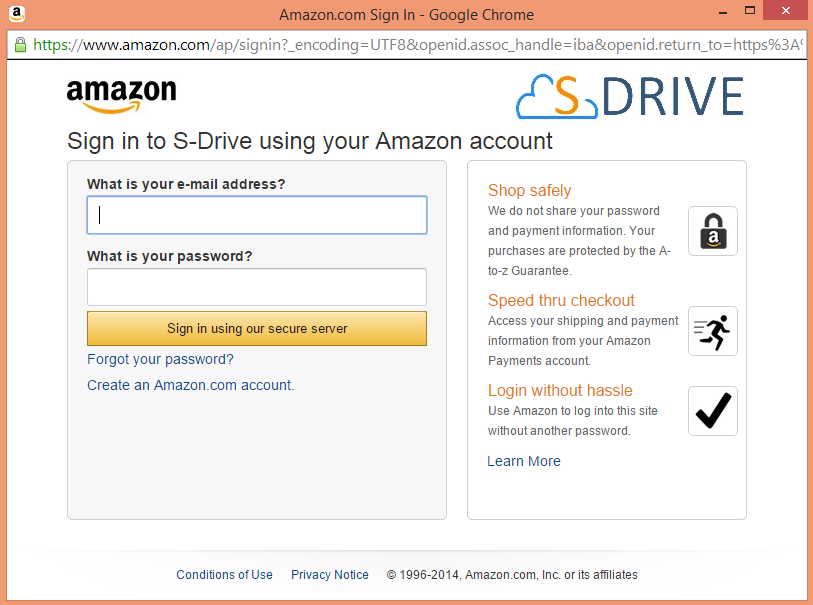
Click Login with Amazon button on "Amazon Payment" section
-
It opens an Amazon.com Sign-in page. Login with your Amazon account.
-
After login, select a Payment Method, then check the consent box and click the "Approve" button
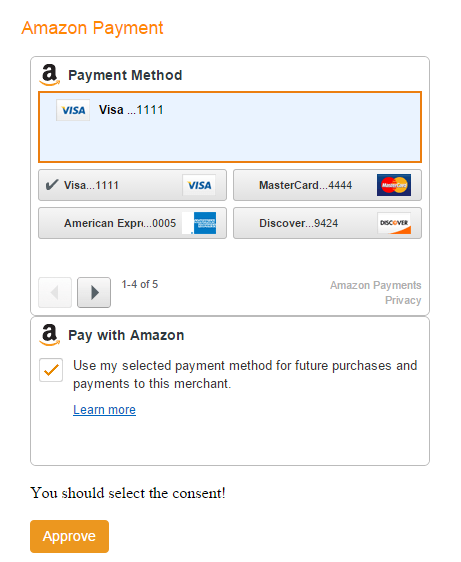
-
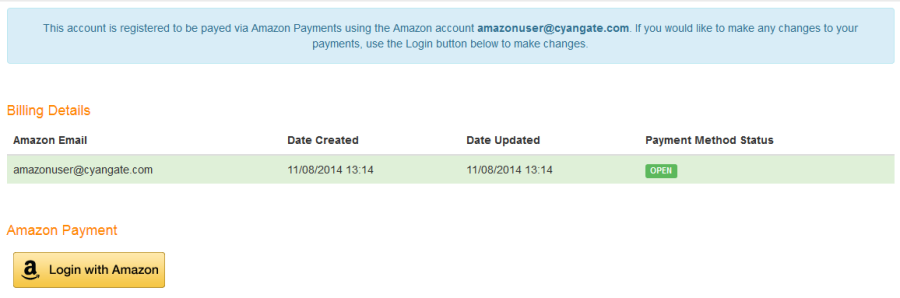
After you complete the payment method registration, you see billing details related to Amazon account on "Billing Details" section.
-
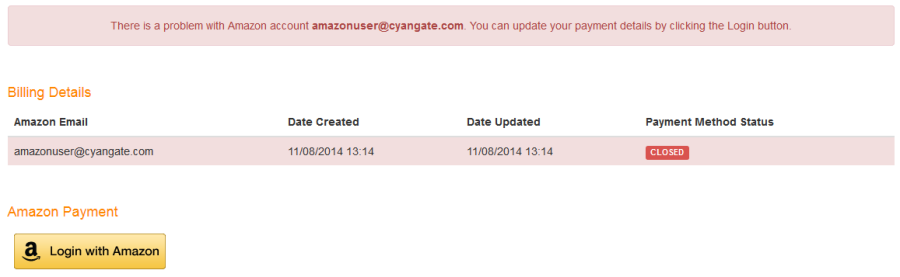
If you see CLOSED payment method status, you should update your payment method again by clicking "Login with Amazon" button. You can also change or update your method by clicking "Login with Amazon" button.”
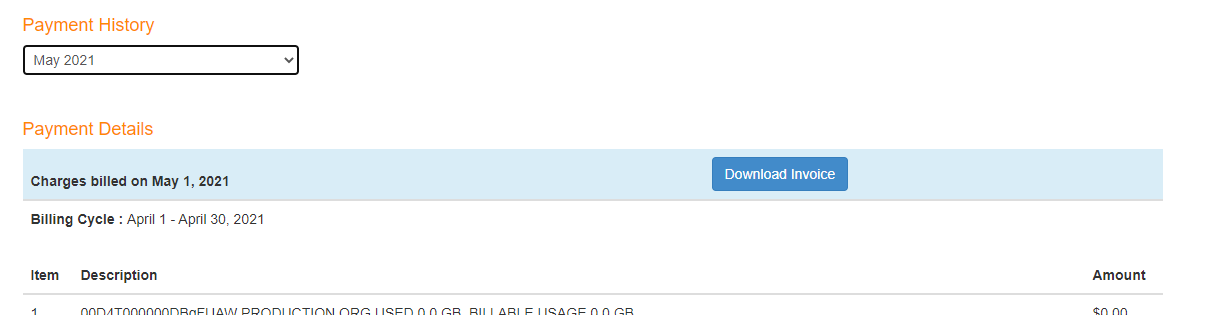
Billing
You can see payment details and your organizations' usages and cost for the current month on "Billing" tab.

You can view payment history and download invoices.